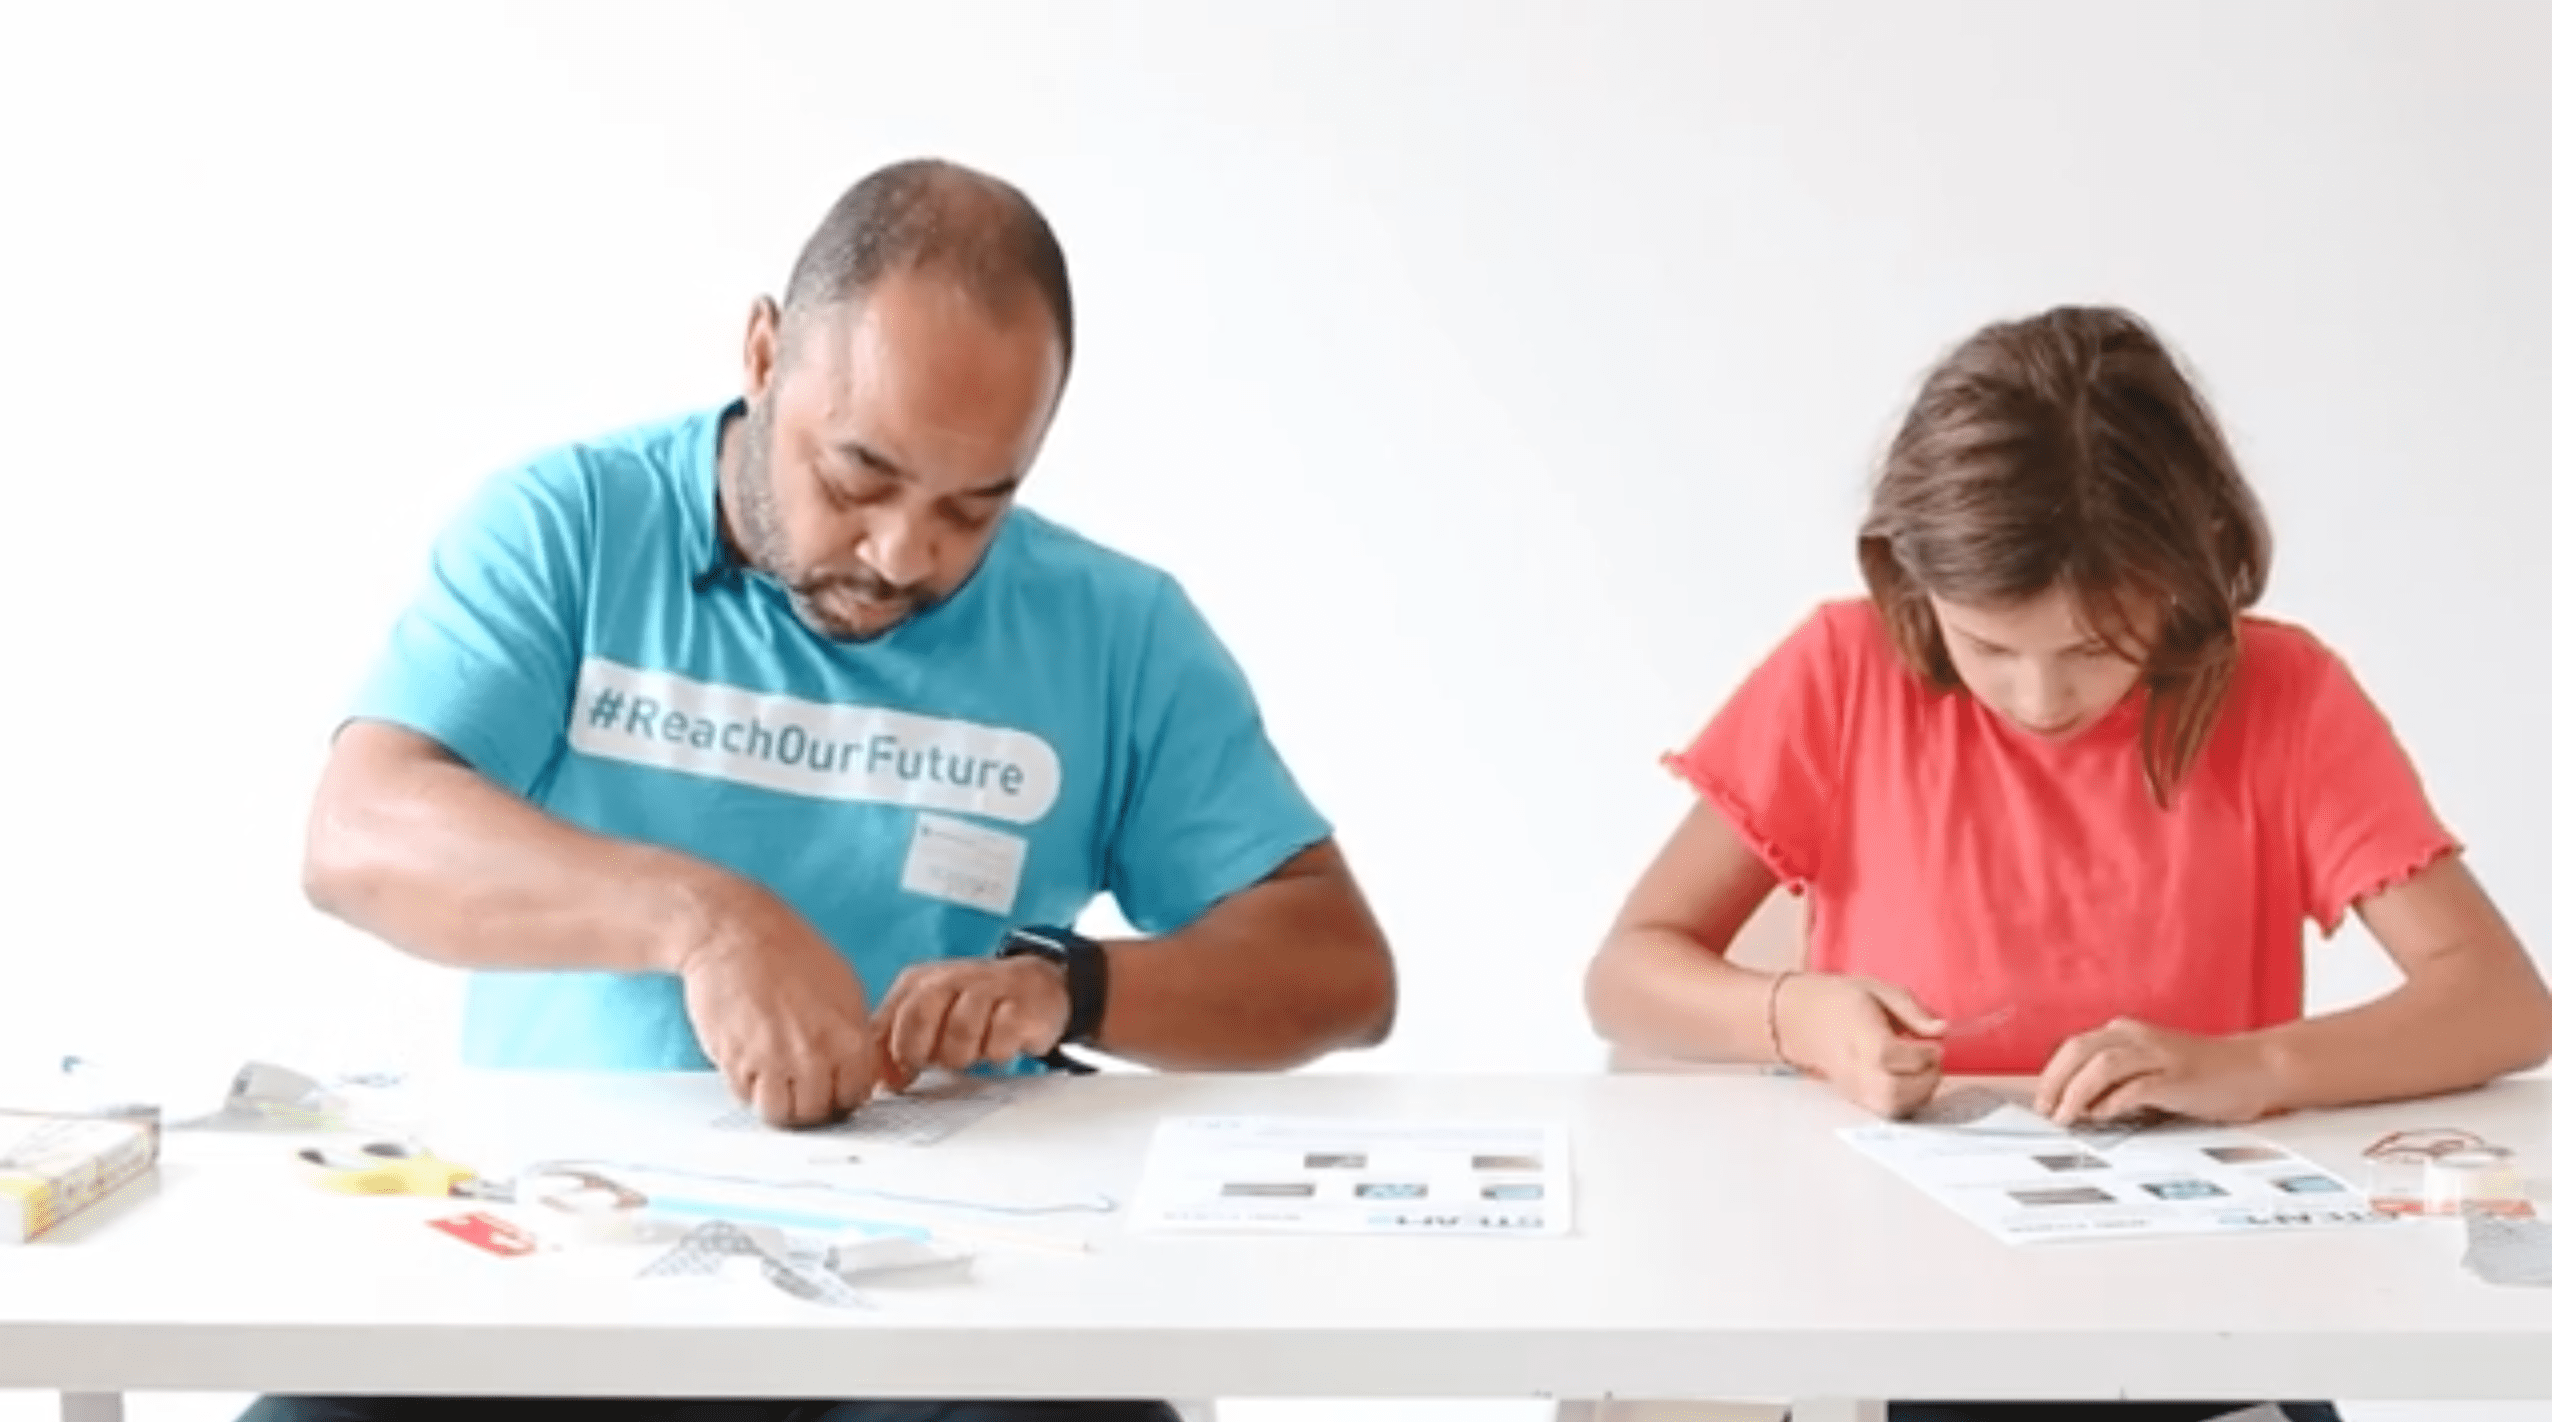
Autumn STEM Kit Guide
If you received a Digi-Bridge Autumn STEM Kit courtesy of Honeywell, we want you to have the most fun possible building your BristleBots and Windmills!
You may find these videos helpful.
BristleBot
BristleBots are tiny robots using the heads of toothbrushes as the body/legs. They are powered by building an electric circuit connecting a vibrating motor to a coin battery. The vibrating motor makes the bristle bot move around in a random way.
Materials: coin cell battery, vibration motor, toothbrush head, double-sided foam tape, scissors
Step 1: Attach a piece of foam tape to toothbrush
Step 2: Remove caps from wires coming from battery
Step 3: Attach battery to toothbrush
Step 4: Peel paper backing off of vibrating motor and attach to toothbrush; use piece of foam tape if the sticky part on motor is not enough
Step 5: Tightly twist together exposed metal ends of red wires
Step 6: Test vibration by touching together the other set of wires
Step 7: Keep the red wires connected while you add custom details such as eyes, antennae or wings to your bot creation. Look in your provided bag of creative materials and items you may have at home, what else can you use to make a vibrating bot with?
Step 8: Connect all wires and watch your BristleBot move around!
EXTEND THE LEARNING:
- Dip your brush bot into a small amount of paint and set down on a piece of paper
- Build guides with legos or blocks and race your bot with another one
Wind Power
Windmills are machines that convert energy from the wind into useful work by rotating. The rotation of a windmill often powers a motor used to produce electricity or mechanical work like moving objects.
Materials: Paper template with hole, string, plastic straw, paper clip, wooden skewer, tape, scissors
Step 1: Cut along each line on the paper template, stopping 1/2 inch before you reach the hole.
Step 2: Bring each corner to the hole, taping them down. Be sure to use the same corner on each section. This will make the sails for your windmill.
Step 3: Insert a straw through the center of each windmill, this will serve as the axis. Insert a wooden skewer through the straw so it can rotate freely.
Step 4: Towards the end of the straw, tape one end of a piece of string to the straw, tie the other end to a paper clip.
Step 5: Hold the ends of the wooden skewer (not the straw) and blow on the sails of your windmill model. What happens? Are there any revisions you can make to the second template to make this project work differently?
The shape created when folding the corners into the center creates a sail, which will catch your breath when you blow on it. The wind (your breath) will then rotate the wheel, which will rotate the axis. Because the axis is connected to the string and the dangling paper clip, it will convert the energy from your breath into useful work by twisting up the string and lifting the paperclip.

